Concert Photography Lesson 4
In the previous weeks, we looked at the mechanics of shooting a show. Today, we will go through the entire workflow for a single day’s shoot.
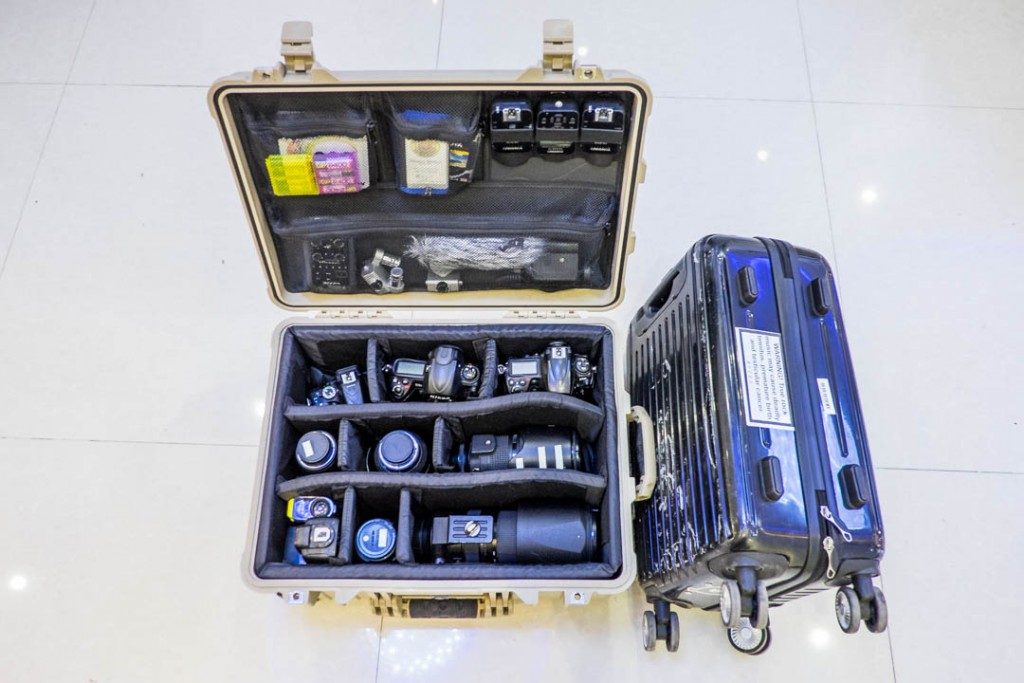
Packing your bags is the last step in a long process that you should take.
A shoot day always begins a day or two before the actual shoot. This is the time when you research the bands you will be photographing. The research can be skipped if you have shot the band before, but I tend to do this for all the bands I work with. I usually search for videos on YouTube for any band I will be working with, and I watch as many of their live shows as I can.
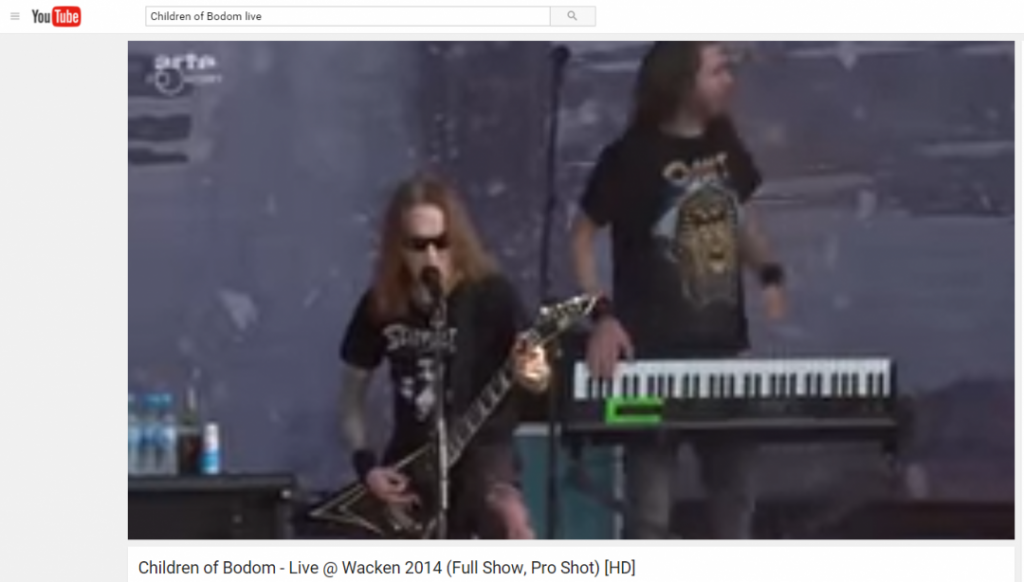
YouTube is your best friend when it comes to researching a band.
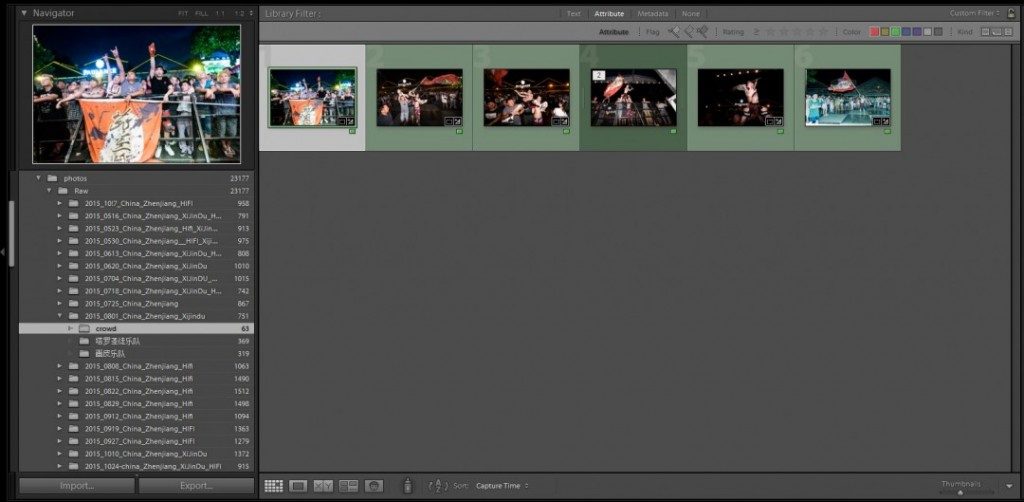
Sorting out file locations before a shoot will save you a lot of time.
All my hard drives are prepared ahead of time to save my files for quick editing. I use a file structure that has worked great for me over the years. I usually name the root folder with the date first, starting with the year, then the month and day, followed by the country, city, and finally the event name. For example, if I were shooting a show today in Shanghai, China, and the show was an AC/DC concert, I would name my folder for all the images like this: “2016_03_06_China_Shanghai_ACDC_Concert.” That structure lets me quickly search for a shoot by either date or location by just glancing at the folder structures in Lightroom. From this main folder, I include subfolders for each band I will shoot during the day, as well as a folder for the crowd. Each category I shoot will have its own folder.
Once the hard drive is set up, I create a Lightroom catalog for that show. This Lightroom catalog is a temporary catalog to shoot the show with. You will import and do all your editing from this catalog, but once you are finished with the show and have delivered your images, you will import this catalog into your main Lightroom catalog for archiving. If you are shooting a festival, though, this folder setup would change a little. At a festival, in the main parent folder, I create a subfolder for each stage that I am shooting at, and in that stage folder, I include all the bands from that stage.

Time is money. Here I am, still editing at 5 AM, and I have to shoot day 2 of the festival. When you are shooting a festival, forget about sleeping. You can sleep when the festival is over.
In the music photography industry, we have to shoot, edit, and deliver photos quickly, so good file management is critical to being successful. You may be able to take the best music shots of all time, but if you deliver them late, no one will care or pay for them. Time is money, time is money, time is money. Never forget this. Once you have prepared everything, it is time to move on to the next step.
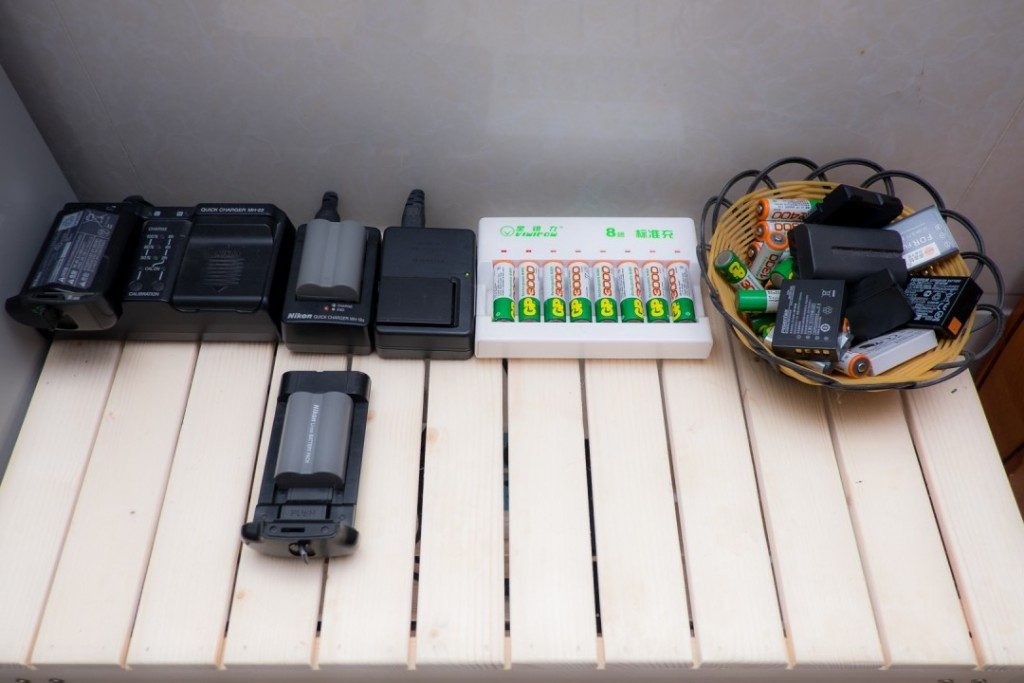
Make sure you charge your batteries, all of them. You never want to run out of power at a show.
The next step is to charge the batteries for all your cameras and format all your memory cards. Make sure you format your cards before you go to the show; you won’t have time to do this at the show. If you get into the habit of preparing your camera before a show, it will become second nature to you very soon.
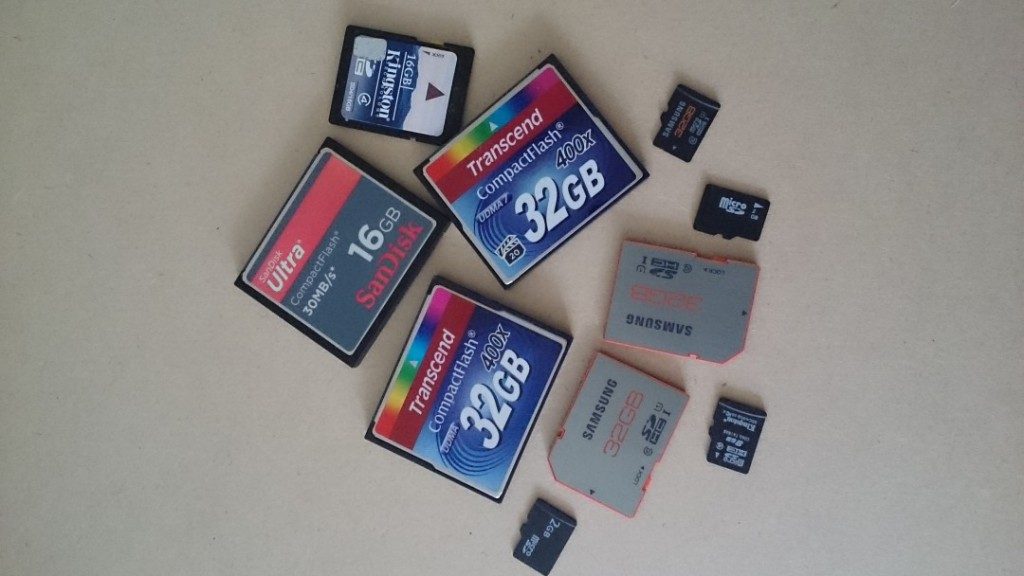
Take care of your memory cards—format all of them before the show, but make sure you format the cards in your camera. The cameras still need to put a file structure onto the cards, so if you format them on your computer, the camera will still need to do this after the first picture is taken, and it will slow your camera down.
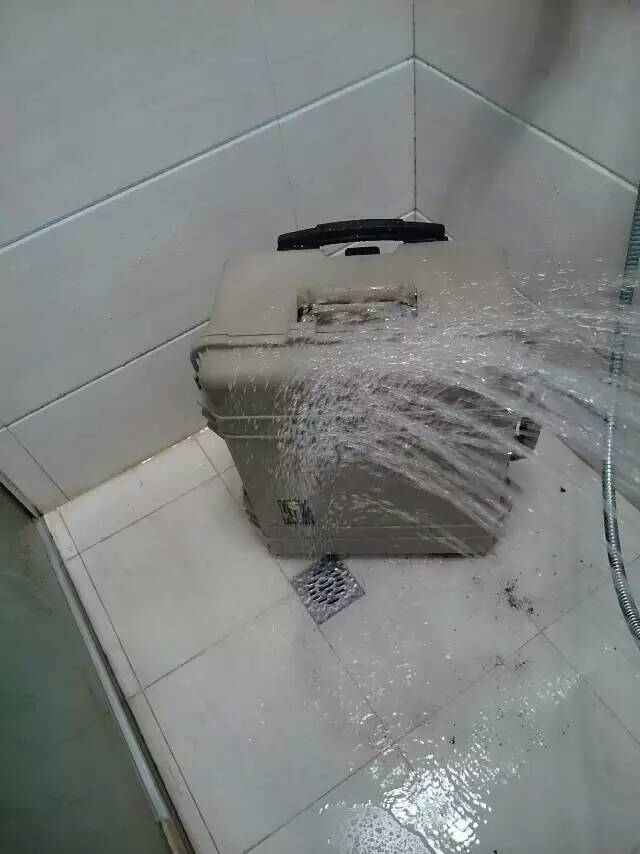
After all of this, you need to clean your lens and pack your bag. Triple-check that you pack your earplugs in your bag; they are the most important piece of equipment you can take with you.
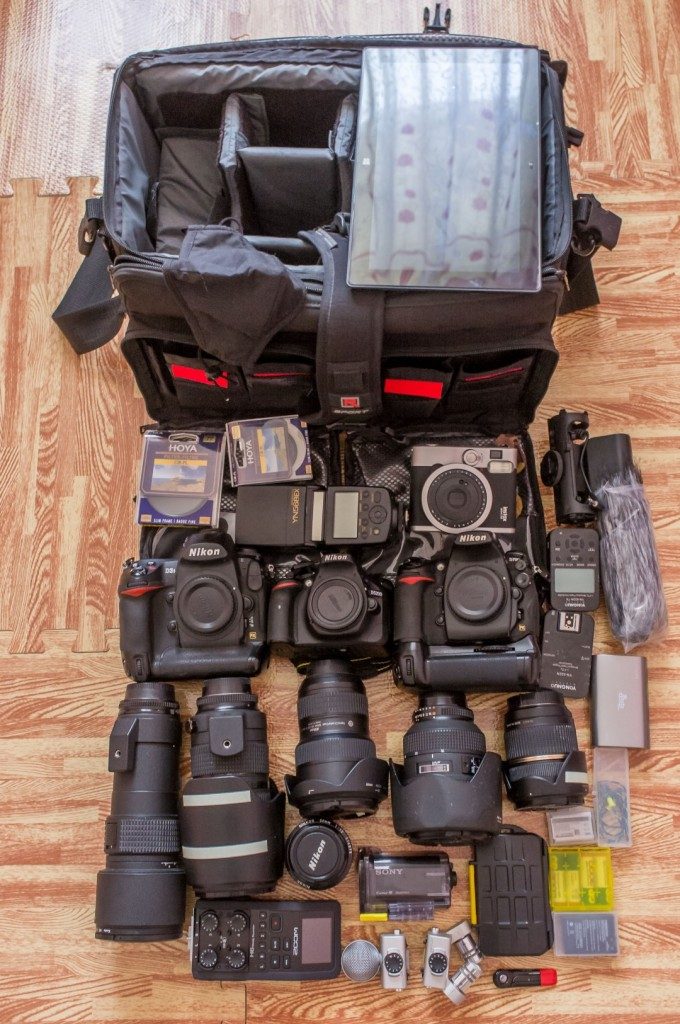
Packing my bag in 2014, I made sure that I had everything I would need for a show, making sure that my earplugs were in my bag, They are your most important piece of equipment to take with you.
Once the day of the show arrives, make sure you get to the venue early. You can to collect your pass and get into the pit to look at the lighting setup.
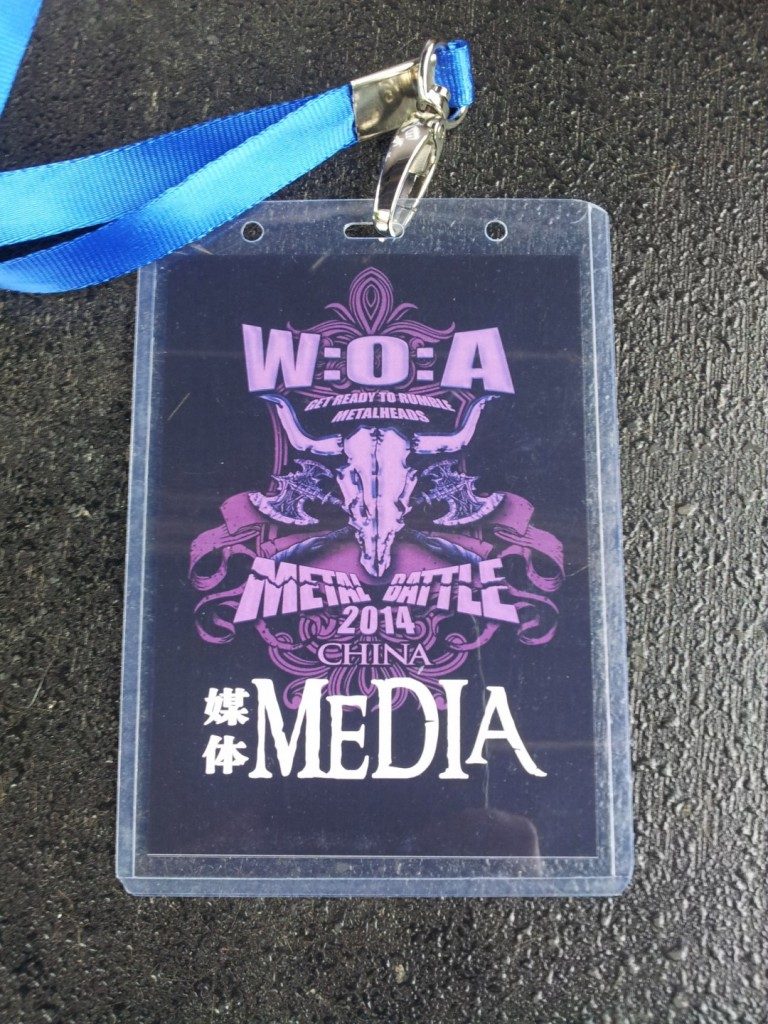
You want to get your pass as early as possible. It is the first thing you should do when you get to the venue
You should walk around the stage, meet the security, and make sure everyone knows you. I always go looking for the stage manager and the lighting engineer and have a chat with them. You always want to be very friendly to everyone at the venue because the music industry is a small world and you never know who can help you in the future. Who you know is more important than anything else in this industry. Dickheads very soon find it hard to get passes to shoot.
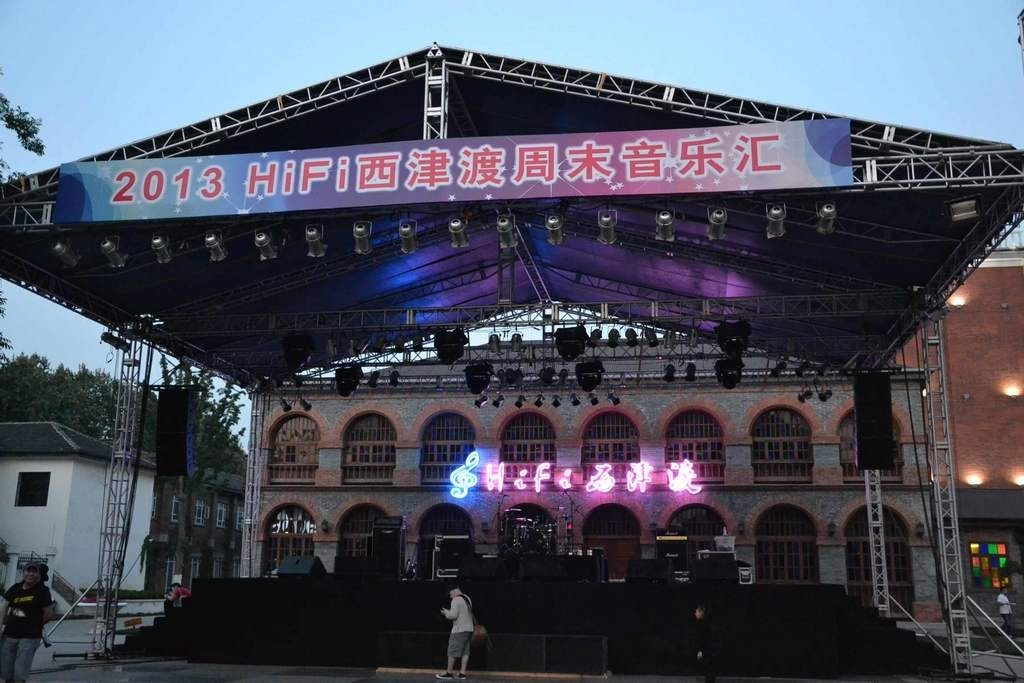
The photo was taken of me at a small show. I am at the venue nearly 2 hours before the show starts, making sure I have access and that everyone knows who I am.
So, you are at the show, you have your pass, and everything is set up. All that is left is to shoot the show. In the previous lessons, I spoke about how to shoot the show, but I will add that while you are in the pit, you should have absolutely no downtime. You should consistently be shooting something. If you got your shot of the artist, shoot the crowd. Always shoot and move, shoot and move. Don’t waste your time shooting the same shot over and over.
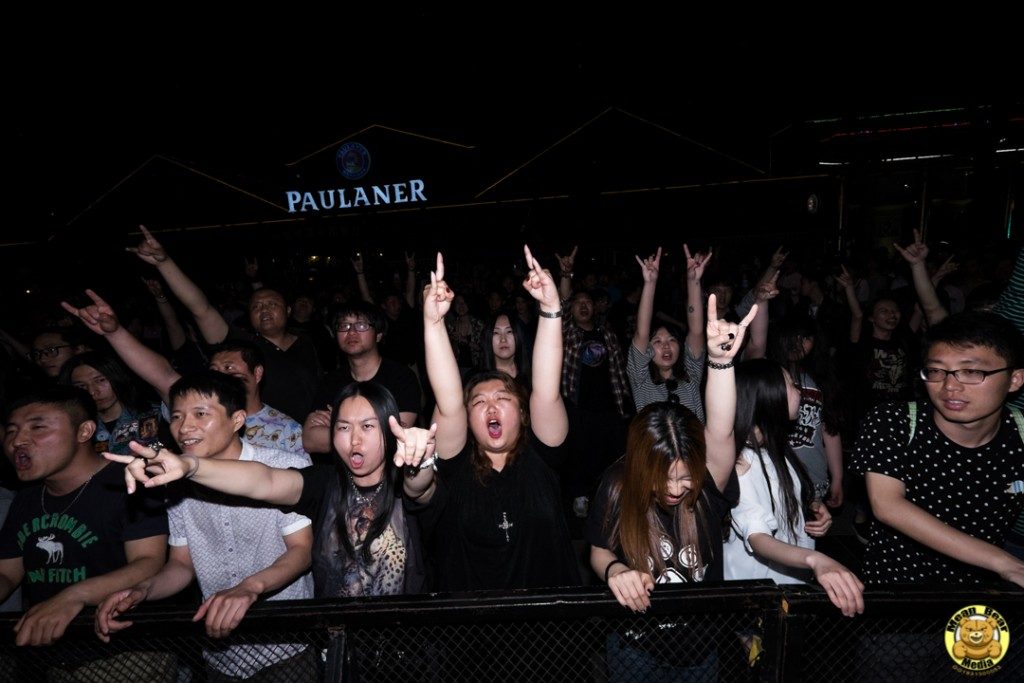
Always be shooting during a show, and never stop working.
Once the shows end, there are still a lot of things to shoot. I always stick around after the show and shoot all the fan clubs and even some of the volunteers. You will be amazed at how many times different fan clubs have helped me in China during a show. Sometimes they will bring you something to eat or drink, and sometimes they may even be able to get you a pass. They are hugely important and often forgotten by music photographers.
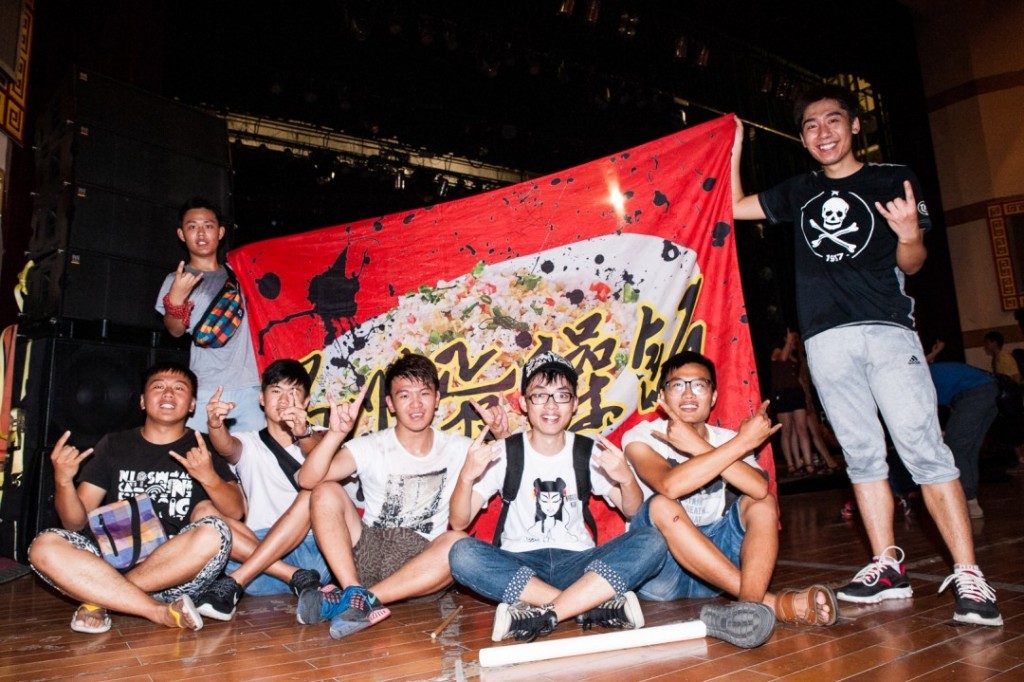
Shooting a fan club after a show.
Once the show is done, the difficult part starts: outputting all the files as quickly as possible. Usually, if you are shooting for some websites, they will want 10 to 20 photos to upload right after the show. Newspapers generally want images before 1 AM, and magazines will give you a few days. Who you are shooting for will determine how much of a rush you will have in your post-processing.
Once you leave the venue, you should be copying the raw photos into the folders for each band. Once you have all the photos in the correct folders, you can open up Lightroom and import the photos into Lightroom.

While I am important the photos into Lightroom, I generally apply some sharpening to the photos so that I don’t have to sharpen each photo. Every second you can save while editing will add up over time when you are editing many photos.
Once all the photos are imported into Lightroom, the next step for me is to find one photo that I like for that band. It does not have to be the best, but it must be a shot that is a little usable. I select this photo very quickly. I then edit the photos in the following order. This is just my preference for editing, you can edit the photos in any order you feel comfortable with. The first thing I do is set the white balance of the shot.
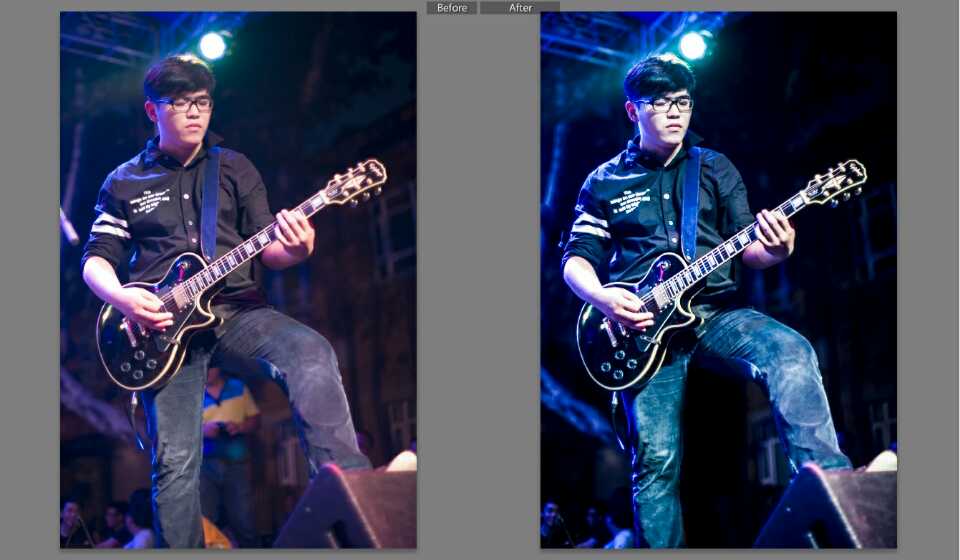
Setting a good white balance is so important and can affect how you change the exposure. The picture on the left looks fine with exposure but as soon as you change the white balance, the skin looks blown out.
After you have a white balance that you are happy with, the next step is to do the lens corrections in Lightroom. These two steps should always be the first things you do when editing any photo in Lightroom. Once that is done, the next step is to get the correct exposure. You do this by adjusting the highlights and shadows, but remember that the higher the ISO you used, the less room you have to edit the file. You can add some noise reduction if you like, but it tends to soften the image too much, in my opinion, and I seldom use it. You just want to get the photo to a rough state that you are happy with because you will use this photo as a template for all the other photos.
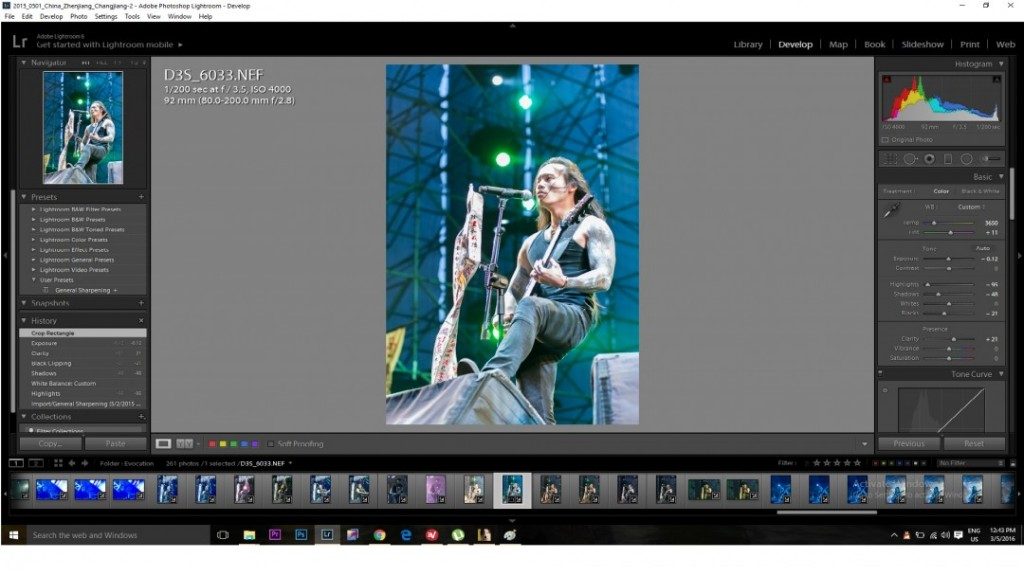
Once the photo is almost perfect, you should then select all the other photos and sync the same settings to all the photos for the band. This will set up all the files to be roughly edited. Now begins the process of selecting the photos that you think are good.
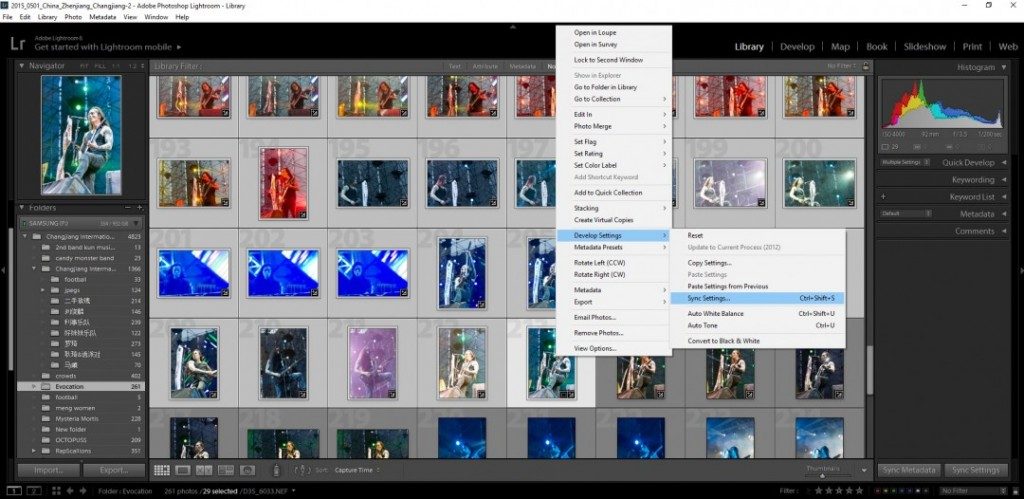
Using my roughly edited photo, I sync all the settings onto the other photos from that night with the same band. Now all my photos should be consistently edited to my style, making the next stage much easier.
After you have done this, now comes the hard and boring part of selecting which photos to work on and edit for delivery. My process for doing this is simple: I go through all the photos quickly, giving each photo that I like a 2-star rating.
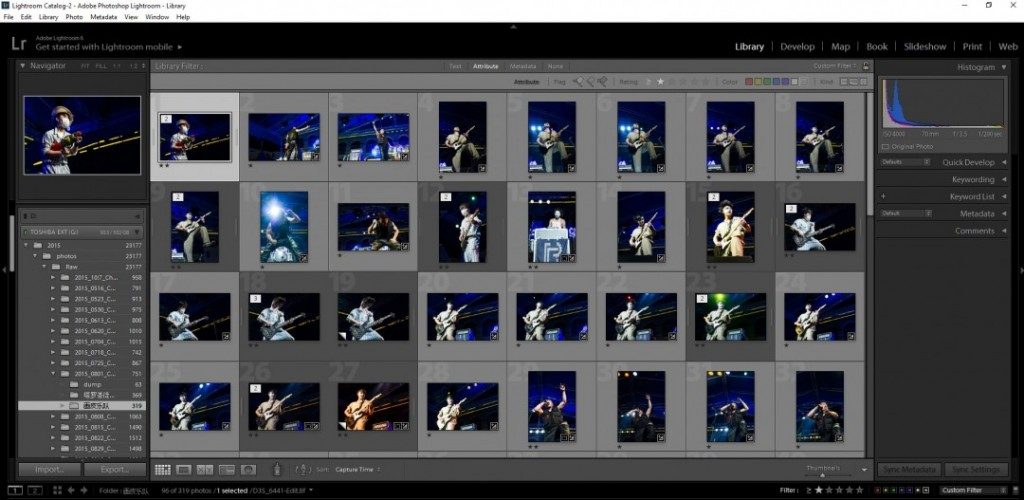
After my first initial round of selection, I have 96 photos that I like. But this is still too much
If I shoot the entire set of a band, I usually end up with about 300 photos, including crowd shots. After my first round of selecting photos, I end up with 96 photos that I really like, but 96 photos are still way too many to edit quickly. So, what I usually do is go through my selection of photos again, and this time, any photo I am not sure about or that I think is similar to another photo, I change the rating to one star. I continue doing this until I have about 40 photos to edit.
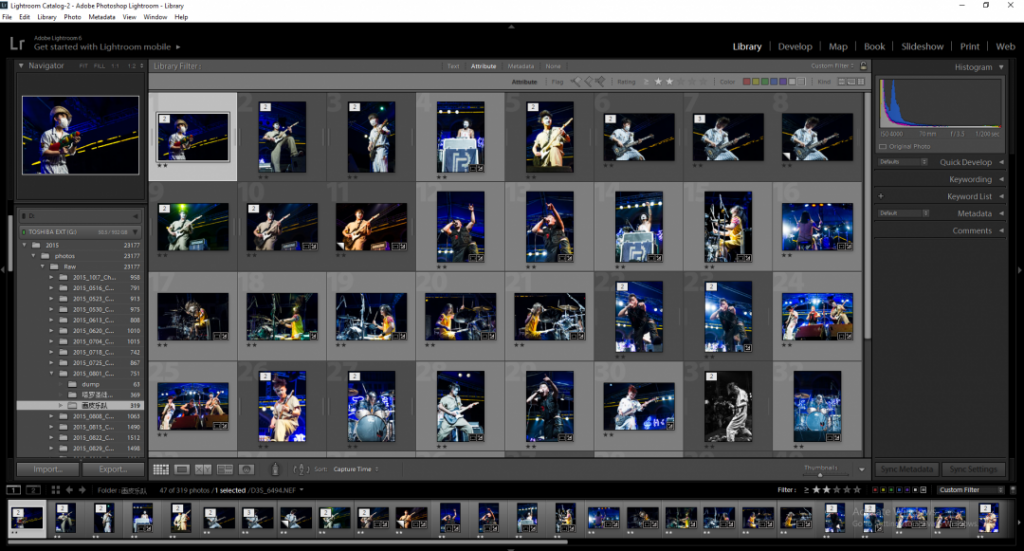
After going through this process again, and culling some photos, I am down to about 40 photos
Generally, 40 photos are the number of shots I like to deliver to a client unless they specifically ask for more or fewer images. I also know that I can generally finish editing a photo within one minute, so I can edit and render the JPEGs within one hour. Time is money, so you have to be able to do this process as fast as possible.
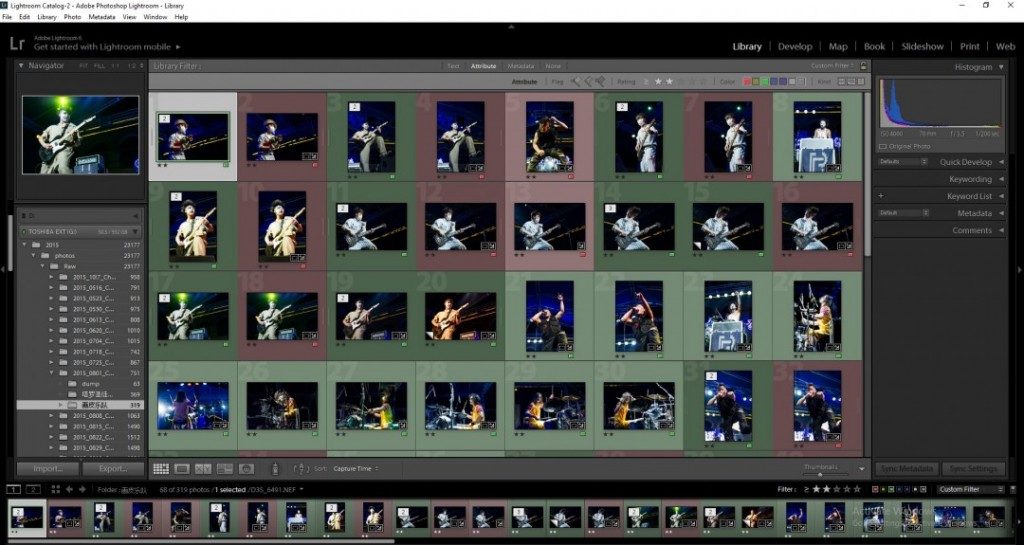
Generally, as I am editing, after I finish editing each photo, I give the photo a green color label for “done.” If I am editing a photo and don’t like it for some reason, I assign it a red color label. This helps me in the end when I need to export the photos. Any photos that I take into Photoshop, I always change the original raw file to a red color label, and the TIFF file from Photoshop gets the green label. You don’t need to export two of the same files with different names. Regarding Photoshop, I seldom use it unless I am cloning out water bottles. There tend to be a lot of water bottles on the stages in China, and I hate them, so I clone them out if I have the time. But usually, when I am shooting on a deadline, I don’t have the time, and they have to stay in the shot.
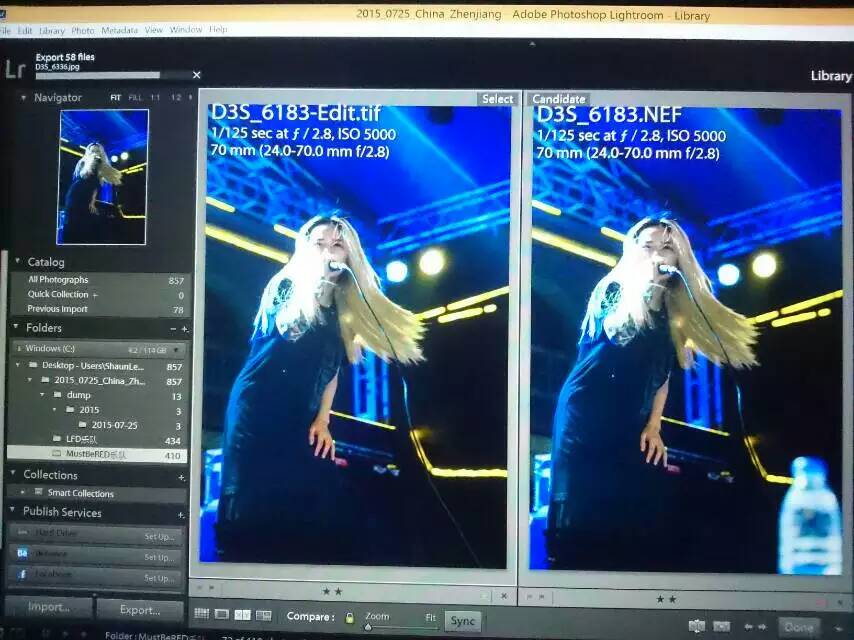
Editing out the goddamn water bottle. I seriously hate water bottles. I have edited out thousands of water bottles in the last few years here in China.
I hate water bottles. If I am friends with the stage manager, I always ask them nicely to keep the stage clean because going into Photoshop is a real pain when you are in a rush.
![]()
The last part of the job is to export your files. I usually do two exports. The first export is the files that go to my clients for printing. The second export gets my watermark and is intended for the web. I usually export my second set of files with my watermark to be much smaller in size, only 2MB. I send those files off to any websites that will use them, and I use the same files to update all my social media sites at the same time. Once all the files are emailed off and all the social media sites are updated, the last step I take is to copy all the raw files onto a backup drive, and then it is time to sleep.
The last step for me sometimes is to clean my camera bag, sometimes it can get really messy at an outdoor festival.
In today lesson, we went over the basic shooting routine and editing routine for a single show. I basically follow this routine for each show that I shoot. Let’s review the steps I take with a quick summary.
So in chronological order
- Research the band or venue that you will be shooting.
- Prepare your hard drives for the files
- Charge all your camera batteries
- Format your memory cards, make sure to format all of them.
- Clean and pack your equipment, making sure to pack your earplugs
- Get to the venue early and collect your pass
- Meet security, stage manager and lighting engineer if possible.
- Shoot the show
- Shoot the fans after the show
- Dump all the photos into the correct folders on your hard drive
- Import photos into Lightroom and apply some sharpening to the photo
- Set to white balance and do general editing on one photo
- Sync the edits to all the photos
- Select your favorite photos and give them a 2-star rating
- Cull your selection down to about 40 photos or less
- Edit the final photos
- Export the photos
- Email photos of to client
- Update social media accounts
- Backup raw files.
This was a fairly long lesson and a lot of material was covered today. I have been using this system for a couple of years now and it allows me to work quickly and get the job done in the small time frame that I have to work within. The last step that I do when I get back home, I import the Lightroom catalog from the show into my main catalog at home. Next week we will look at some more at shooting the drummer at the show.
So until next week,
Happy shooting.
Shaun.